In this tutorial we will learn how to configure the DNS settings. Let's start:
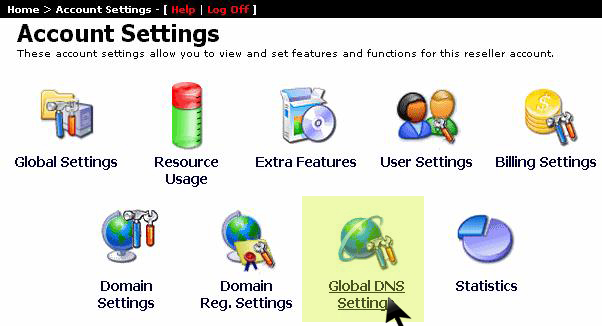
1) From the main menu click on the option "Account Settings" then in the next window select the option "Global Settings" as you see in the image below:

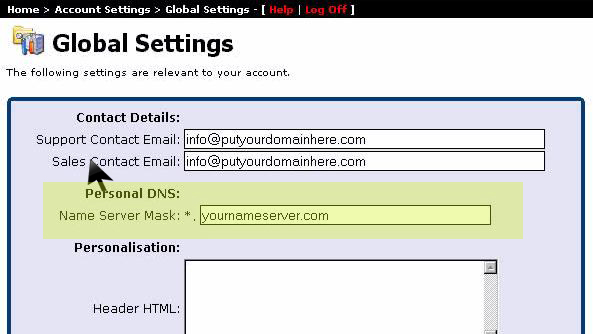
2) In the next window you can enter the name for the servers (shaded area in the image below) you will use it and you can configure the header, footer and the links that will appear in the control panel:

Here you can select the option "Online Help" to be active and usually this option is already selected.In the end press"Save":

3) Now go back to the menu option "Account Settings" and press the option "Global DNS Settings":

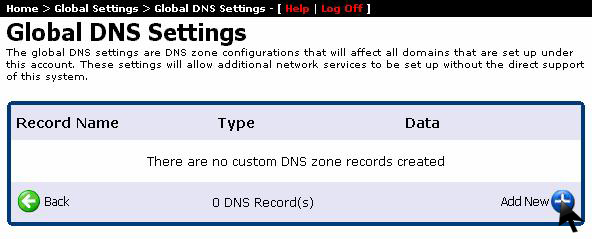
4) In the next window click the button "Add New" to add new DNS settings:

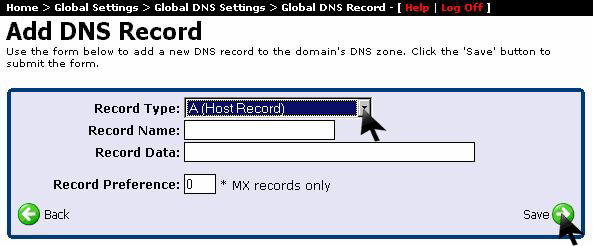
5) In the last step of this tutorial you must enter your new DNS. If you do not really need these settings then it is appropriate that they remain the original because some users may have some problems if you change connectivity settings:
