As a Reseller must always know how to add new users to your account. In this tutorial will be presented step by step how you can add users and how you can change the settings of the accounts created by them. Let's start:
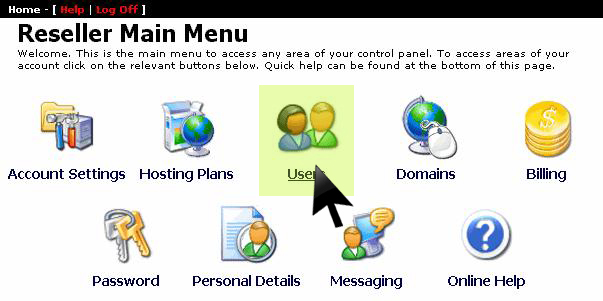
1) First, in the main menu select the option "Users" as you see in the image below:
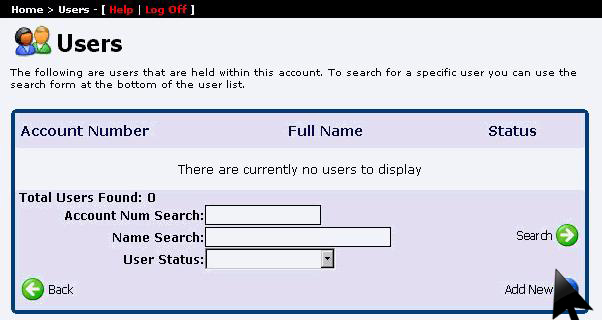
2) In the next window, at first you do not have added any user. To add a user click on the button "Add New":
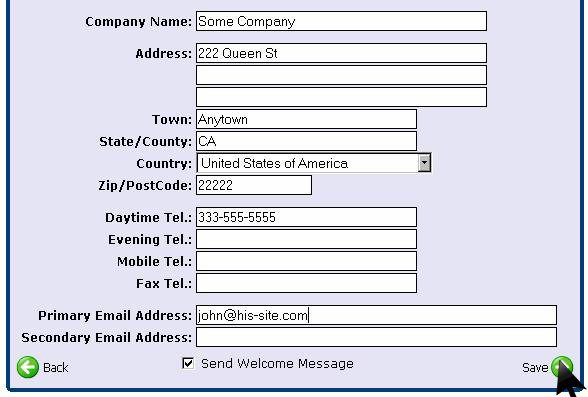
3) Enter the new user's personal data by filling each of the free boxes as you see in the image below, then click "Save":
4) At this time you managed to add a first user of your reseller account. To see the settings you can change for this user click on his name:
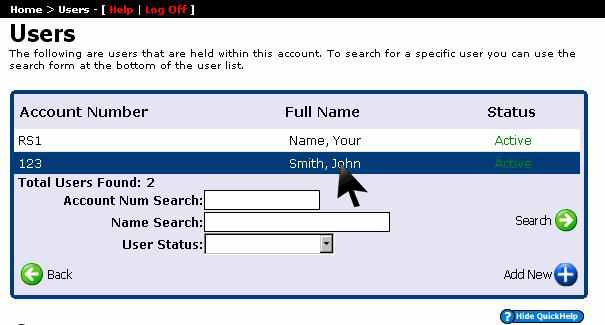
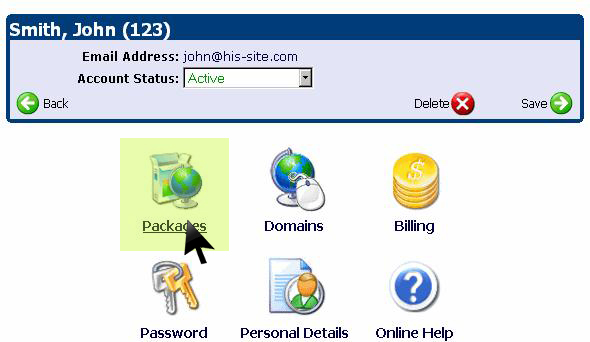
5) For the selected user,in the menu you have several options which we will explain all.
The option "Packages" allows you to add packages to a specific user. After adding a new package you can add domains to that package:
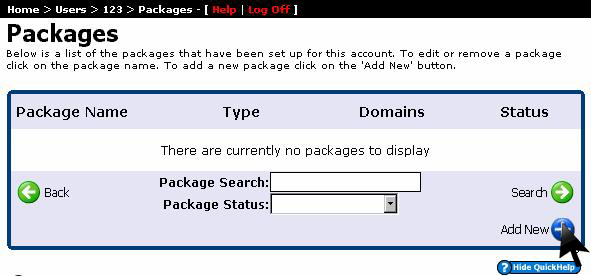
6) If you not have a added package then you can click on "Add New":
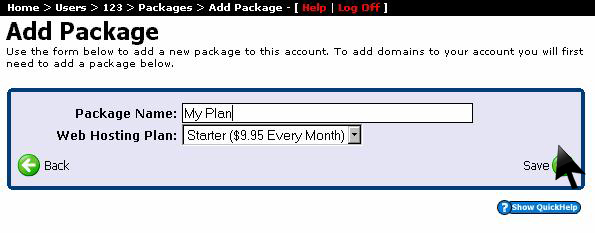
7) In the next window enter the name you want for your package and select the plan for which you want to add this package. Finally click "Save":
8) Another option in the menu for each user is "Domains":
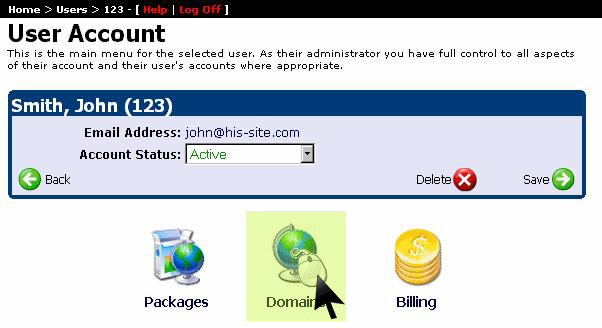
To see how you can add a domain to a web host package, please go to the tutorial: How to add a domain to a user
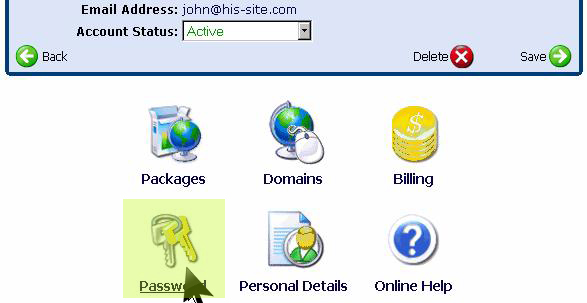
9) Another option is the users menu is 'Password '. To change a password, click on this option:
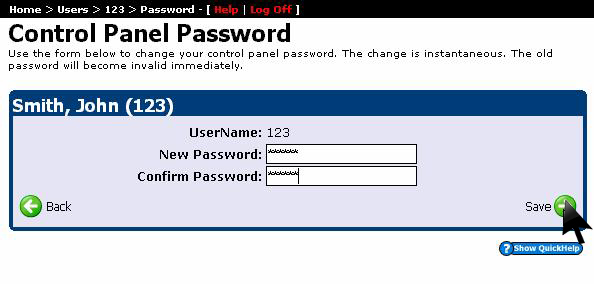
10) Enter the desired password and click "Save":
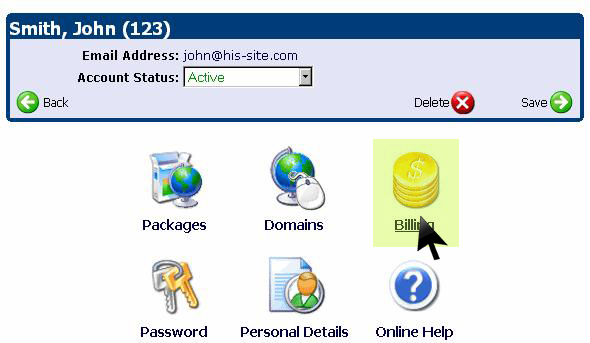
11) Then we have the option "Billing" which can give us information about the cost of the packages for each user:
12) The option "Billing" has also two other options: "Account Statements" and "Recurring Payments":
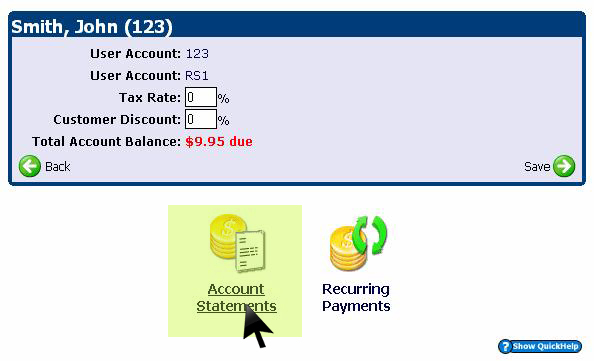
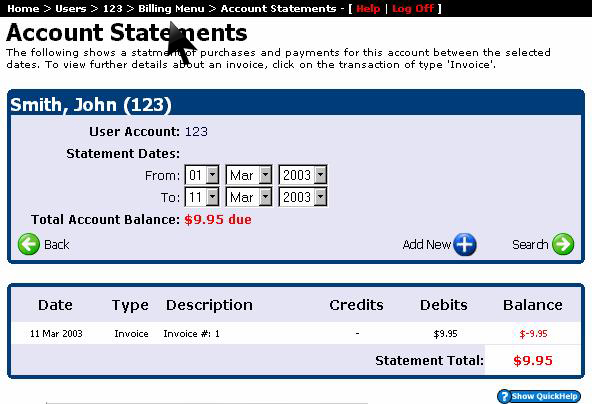
Option "Account Statements" allows us to see transactions made by a user in a certain period of time. To see more details about a particular transaction, click on "Invoice":
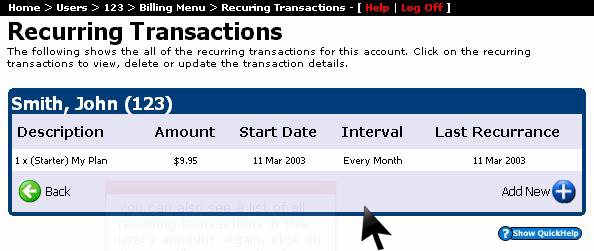
Option "Recurring Payments" refers to transactions in progress. To make changes or delete a particular transaction, click on this:
